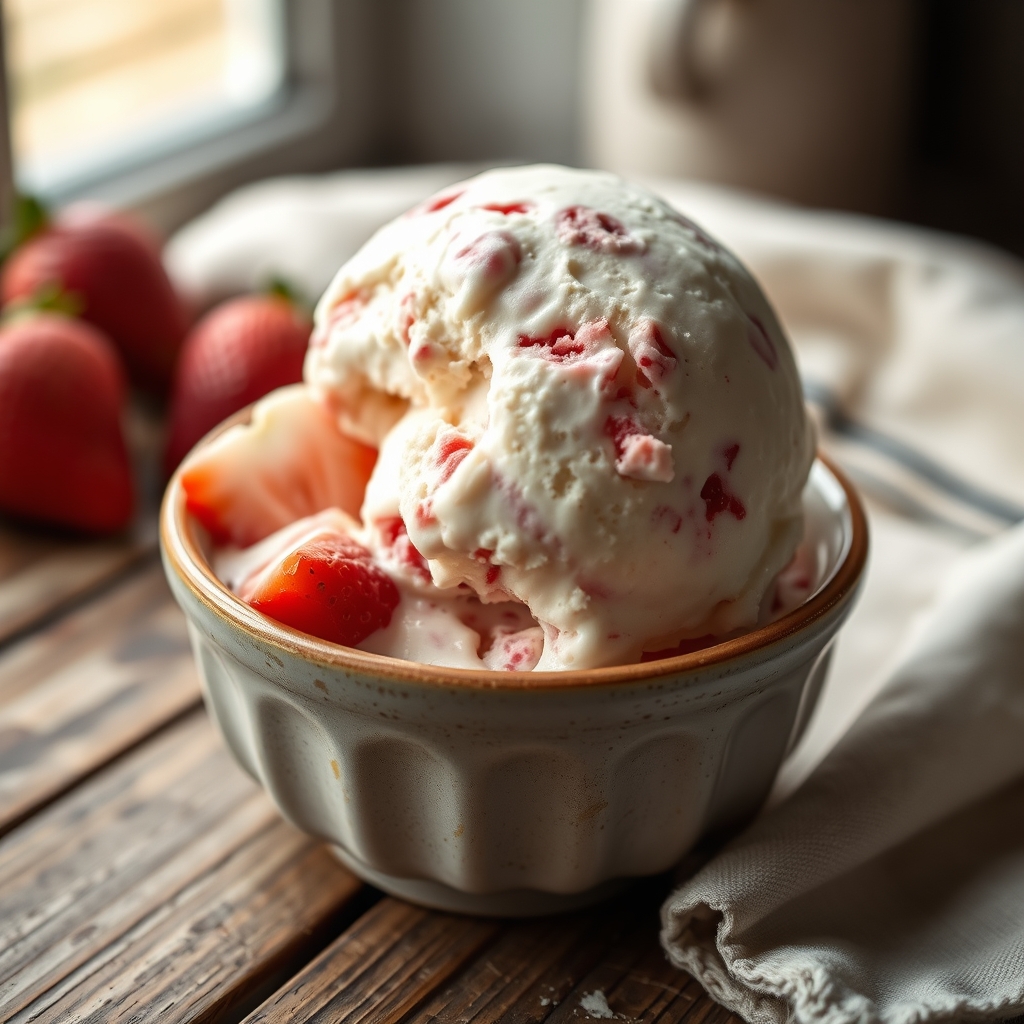

There’s something about the first bite of strawberry shortcake that feels like a summer afternoon. The sweet crunch of a butter biscuit, tart and juicy strawberries, a cloud of lightly sweetened cream. But what if you could capture that exact moment in the form of ice cream—without an ice cream maker? That’s the magic of no-churn ice cream. This recipe transforms the classic strawberry shortcake into a creamy, scoopable treat that stays perfectly soft and rich. The secret is a whipped cream base that skips the churning and delivers the same luscious texture. Let’s dive in.
Why This Recipe Works
Traditional ice cream relies on constant churning to break up ice crystals and incorporate air. No-churn ice cream achieves the same effect by whipping heavy cream into stiff peaks, then folding in sweetened condensed milk. The condensed milk’s high sugar content lowers the freezing point, so the ice cream stays scoopable without turning into a block of ice. Here, we add a homemade strawberry swirl and crushed shortbread cookies that mimic the texture of shortcake. The result is a spoonable, creamy dessert with distinct bits of cookie and fruit that never get icy.
Ingredient Deep Dive
- Heavy Cream: The backbone of no-churn ice cream. Whipping to stiff peaks incorporates air, giving the ice cream its light, creamy texture. Use cream with at least 35% milk fat for best results.
- Sweetened Condensed Milk: This is both the sweetener and the stabilizer. Its high sugar content prevents large ice crystals from forming, ensuring a smooth, scoopable texture even after freezing.
- Fresh Strawberries: They provide bright, tangy flavor and natural color. Macerating them in sugar draws out their juices and softens them, so they blend into a sauce that won’t freeze into hard chunks.
- Lemon Juice: A splash brightens the strawberry flavor and helps preserve its color.
- Vanilla Extract: Enhances the creamy sweetness of the base, balancing the tart berries.
- Shortbread Cookies: Crumbled and folded in, they add the classic “shortcake” crunch. Use plain, high-quality shortbread for the most authentic flavor. Avoid buttery or flavored varieties.
Masterclass Instructions
Step 1: Make the Strawberry Swirl
In a small bowl, combine 1 ½ cups finely chopped fresh strawberries with ¼ cup granulated sugar and 1 tablespoon lemon juice. Stir gently and let it sit at room temperature for 20 minutes, stirring occasionally. The berries will release their juices and soften. After macerating, lightly mash the berries with a fork to create a chunky sauce, but leave some small pieces intact for texture. Set aside.
Step 2: Whip the Cream Base
Pour 2 cups of cold heavy cream into a large chilled mixing bowl. Using a hand mixer or stand mixer fitted with the whisk attachment, beat on medium-high speed until soft peaks form. Add 1 teaspoon of vanilla extract and beat just until stiff peaks form. Be careful not to overwhip, or the cream will turn into butter. The cream should hold its shape and look billowy but smooth.
Step 3: Incorporate the Sweetened Condensed Milk
Pour one 14-ounce can of sweetened condensed milk into a separate large bowl. Gently fold about 1 cup of the whipped cream into the condensed milk to lighten it. Then fold the mixture back into the remaining whipped cream, using a rubber spatula in a gentle, figure-eight motion until no white streaks remain. Avoid stirring vigorously to keep the air bubbles intact.
Step 4: Layer and Swirl
Spread one-third of the cream mixture into the bottom of a 9×5-inch loaf pan. Drizzle half of the strawberry sauce over the top, then sprinkle with one-third of the crumbled shortbread cookies (about 1 cup total). Repeat with another third of cream, the remaining strawberry sauce, and another third of cookies. Top with the final third of cream and sprinkle the remaining cookies on top. Use a knife or skewer to gently swirl the strawberry sauce into the cream, creating ribbons. Don’t overmix—you want distinct pockets of fruit and cookie.
Step 5: Freeze to Perfection
Cover the pan tightly with plastic wrap or a lid. Freeze for at least 6 hours, or preferably overnight. The long freeze ensures a firm but scoopable texture. The ice cream will keep for up to 2 weeks in the freezer.
Pro Tips
- Chill your bowl and beaters before whipping cream—it helps the cream whip faster and hold peaks longer.
- If the strawberry sauce seems too runny, simmer it in a small saucepan over medium heat for 2–3 minutes, stirring constantly, to thicken slightly. Then cool completely before using.
- For a smoother texture, toss the crushed shortbread cookies in a tablespoon of melted butter before adding. This prevents them from becoming too hard when frozen.
Troubleshooting & FAQ
Why did my ice cream turn out icy?
Icy texture usually means the cream wasn’t whipped enough, or the ice cream was exposed to temperature fluctuations. Always whip until stiff peaks form, and keep the dessert tightly covered during freezing.
Can I use frozen strawberries?
Yes, but thaw them completely and drain off excess liquid before macerating. Frozen berries tend to be softer, so reduce the sugar to 2 tablespoons.
Can I replace the shortbread with another cookie?
Absolutely—graham crackers, vanilla wafers, or even sponge cake cubes work well. For a gluten-free option, use gluten-free shortbread or crushed meringues.
How do I serve this ice cream if it’s too hard?
Let it sit at room temperature for 5–10 minutes before scooping. If you forgot to take it out early, microwave the container on low power in 5-second bursts, checking after each.
Can I make this dairy-free?
Yes, substitute full-fat coconut cream (chilled) for heavy cream and use sweetened condensed coconut milk. The texture will be slightly different but still delicious.